怀旧凤梨糕点
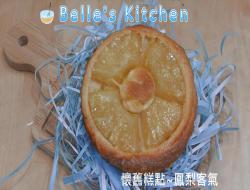
每次去厦门都得排队才能买上的张凤记凤梨酥,这回在家就可以任性吃了,还带盒子和高级袋#传统糕点,酸酸甜甜的凤梨片,使蛋糕别有一番滋味,水果入馅,口感丰富,口味更显清爽。
1995 阅读
17 点赞
材料单
- 准备:30分钟
- 加工:20分钟
- 额外:1 小时 10 分钟
- 总时:2 小时
- 份量:5
- 产出:1(5 份)
- 营养信息
美食图片
步骤
- 第一步:
发酵奶油150g倒入碗中,切成小块。 Pour 150g of fermented cream into a bowl and cut into small pieces.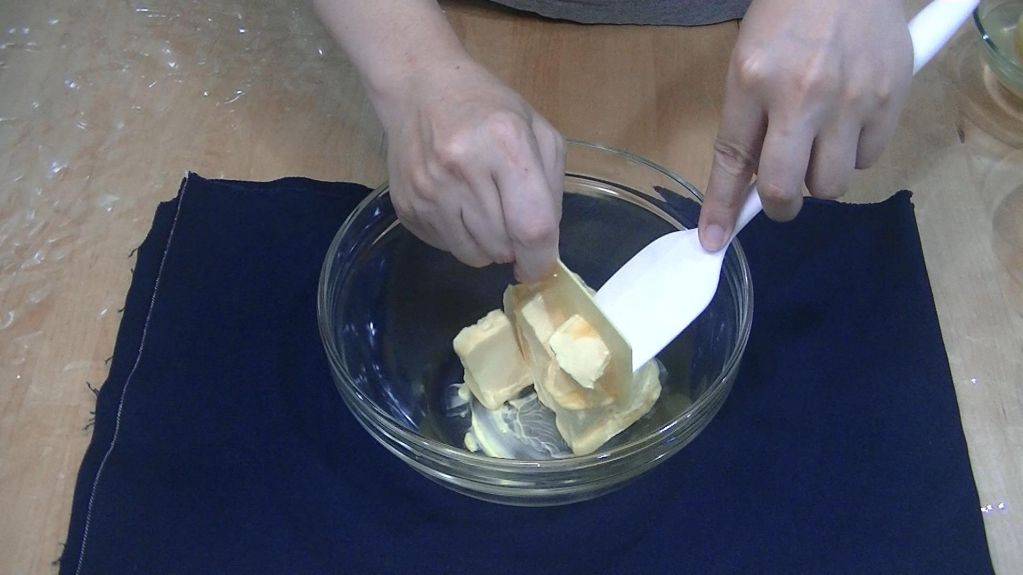
- 第二步:
加入100g炼乳 Add 100g condensed milk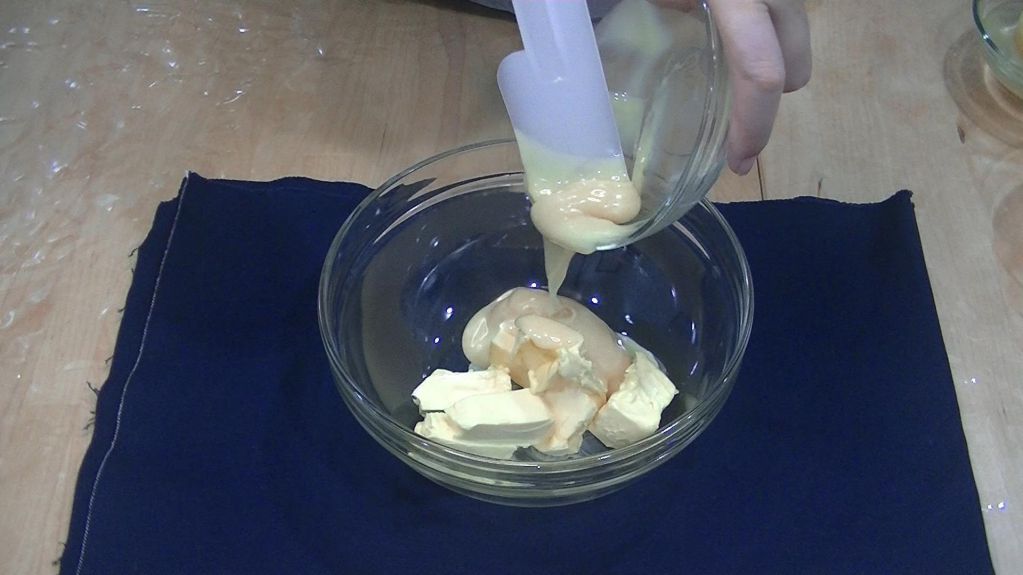
- 第三步:
用电动搅拌器,将发酵奶油及炼乳打发到微微发白。 Using an electric mixer, beat the fermented cream and condensed milk until lightly pale.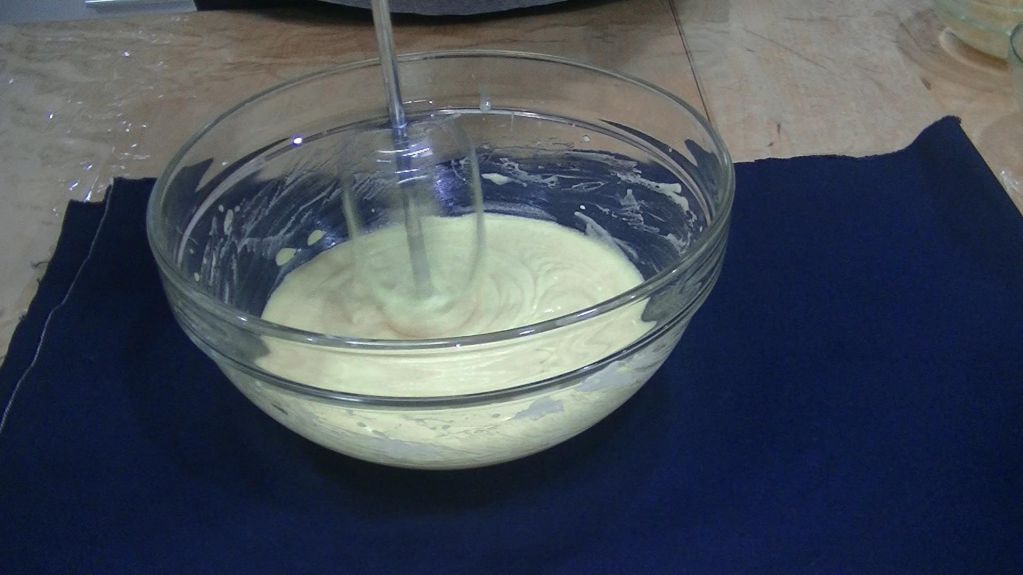
- 第四步:
加入一颗鸡蛋 add an egg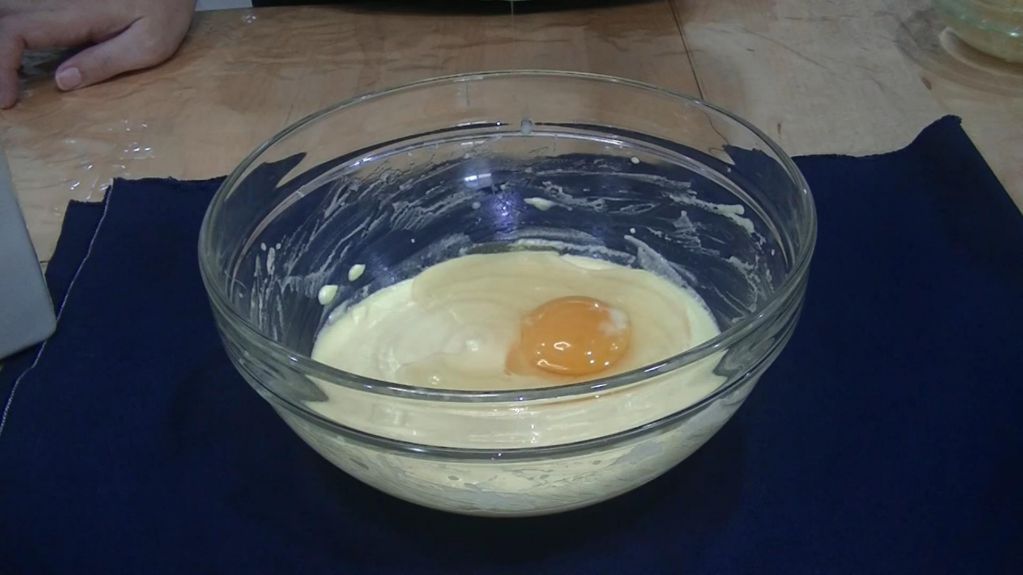
- 第五步:
继续用电动搅拌器,将奶油与鸡蛋混合均匀。 Continue to use an electric mixer to combine the cream and eggs until smooth.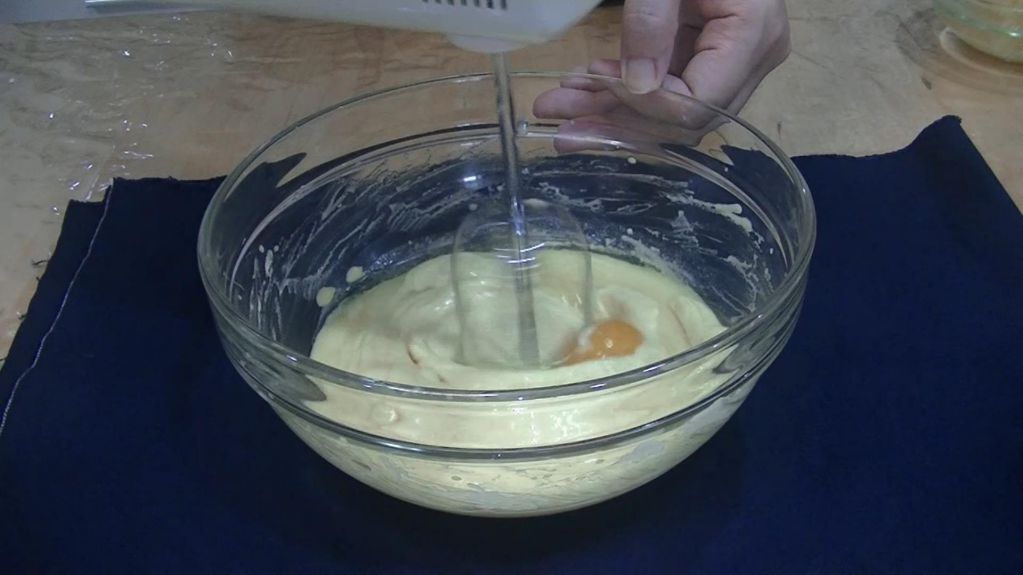
- 第六步:
将200g低筋面粉过筛入奶油盆 Sift 200g of low-gluten flour into the butter bowl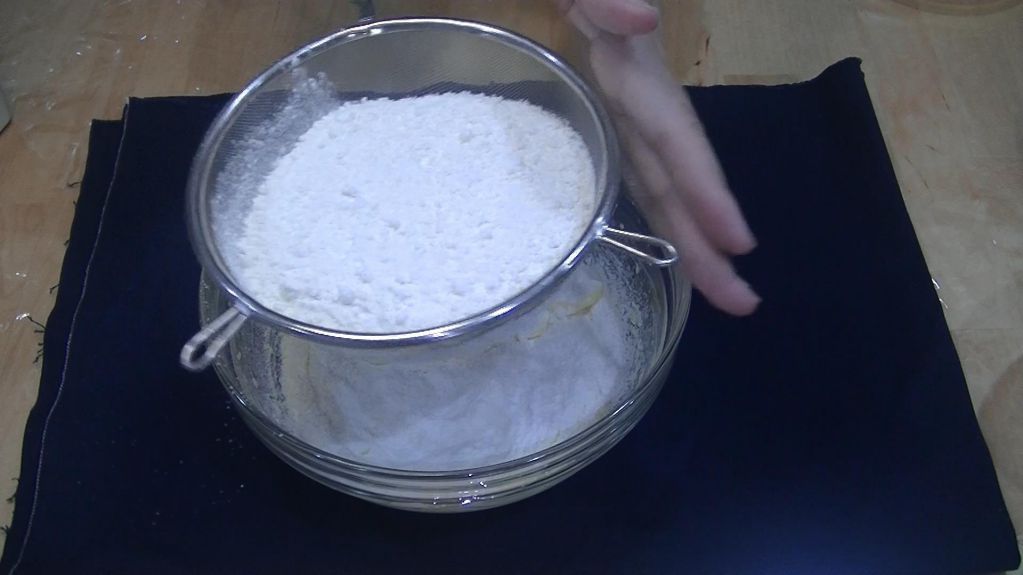
- 第七步:
将低筋面粉和奶油混合均匀,直到看不到面粉。 Mix in the low-gluten flour and cream until no more flour is visible.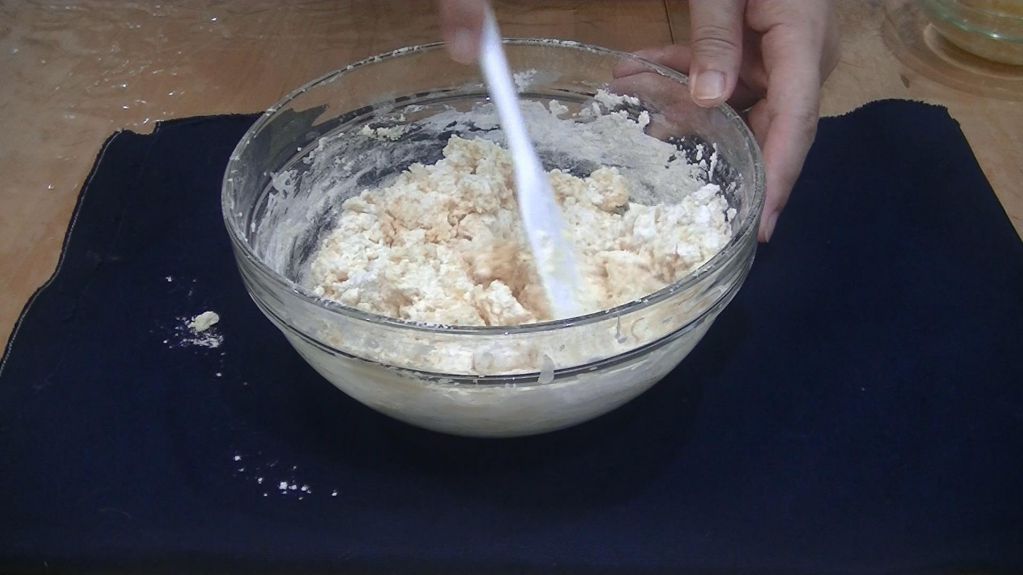
- 第八步:
将面糊放入挤花袋 Put the batter into the squeeze bag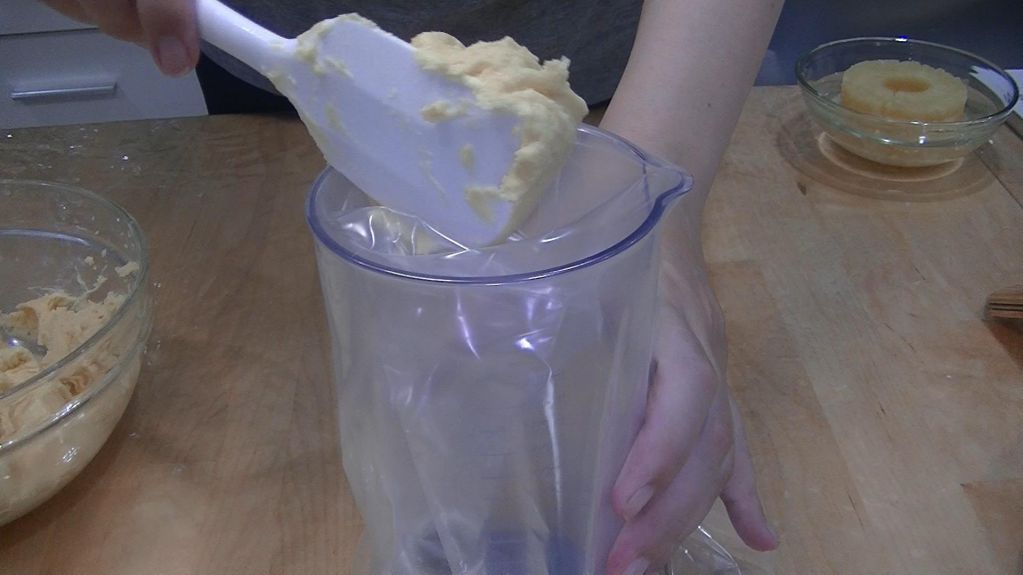
- 第九步:
将面糊挤入纸模中,每一个重量约80g Squeeze the batter into paper molds, each weighing about 80g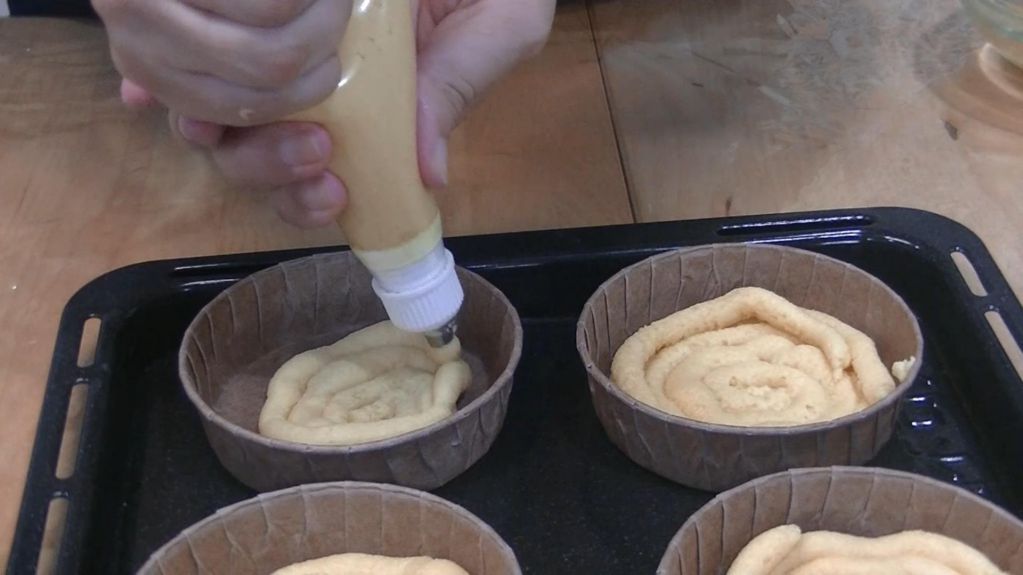
- 第十步:
在面糊上放上凤梨片 Put pineapple slices on top of the batter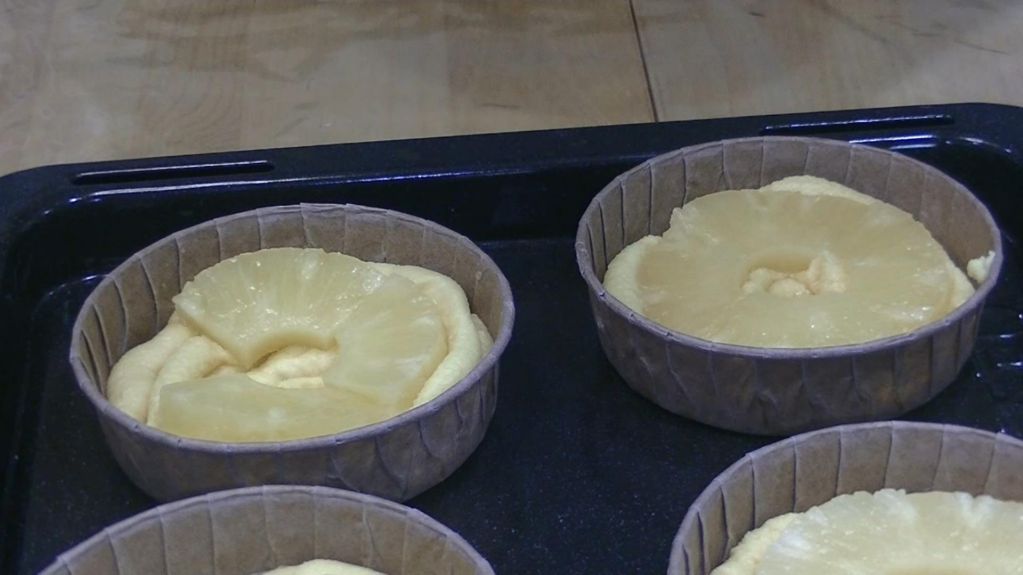
- 第十一步:
烤箱预热至180度(上下火皆是),烘烤时间25分钟。 Preheat the oven to 180 degrees (both up and down) and bake for 25 minutes.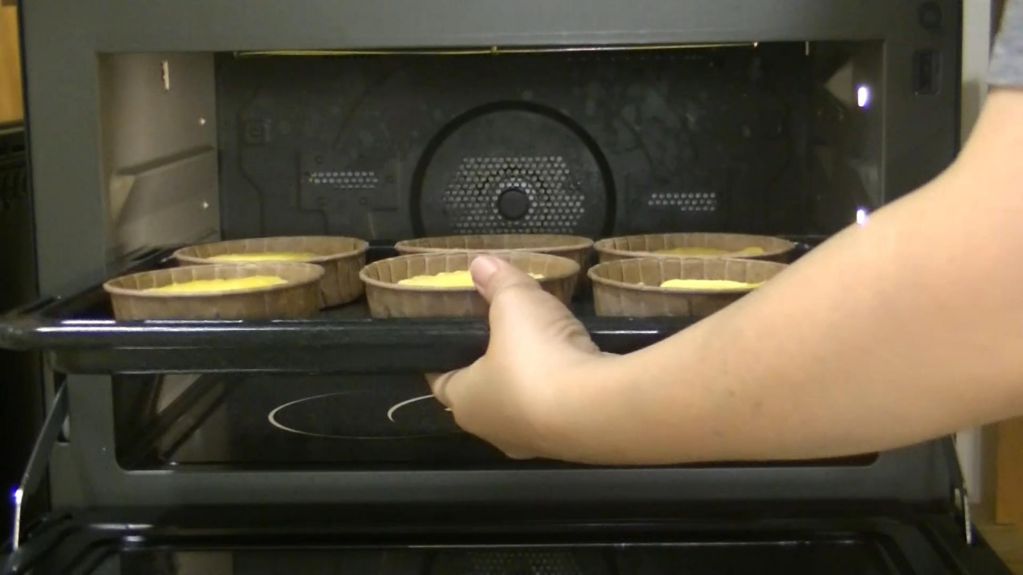
- 第十二步:
准备刷酱,将2颗蛋黄及20g糖粉混合均匀。 To prepare the sauce, mix 2 egg yolks and 20g powdered sugar evenly.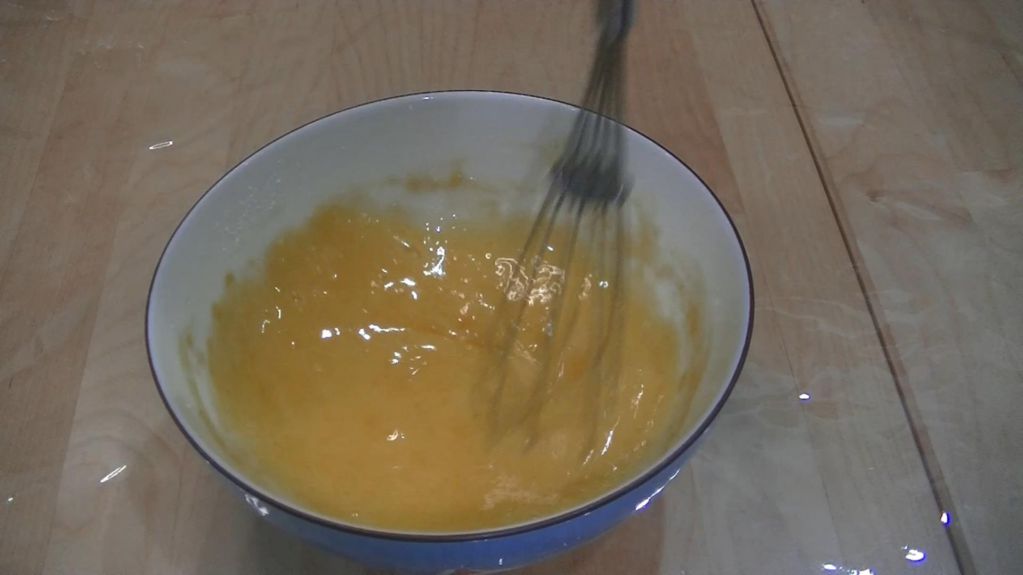
- 第十三步:
烘烤结束后,取出烤盘,趁热涂上蛋液。 放凉后就完成了 After baking, remove the pan and coat with egg wash while it is still hot. The cake is done when it cools down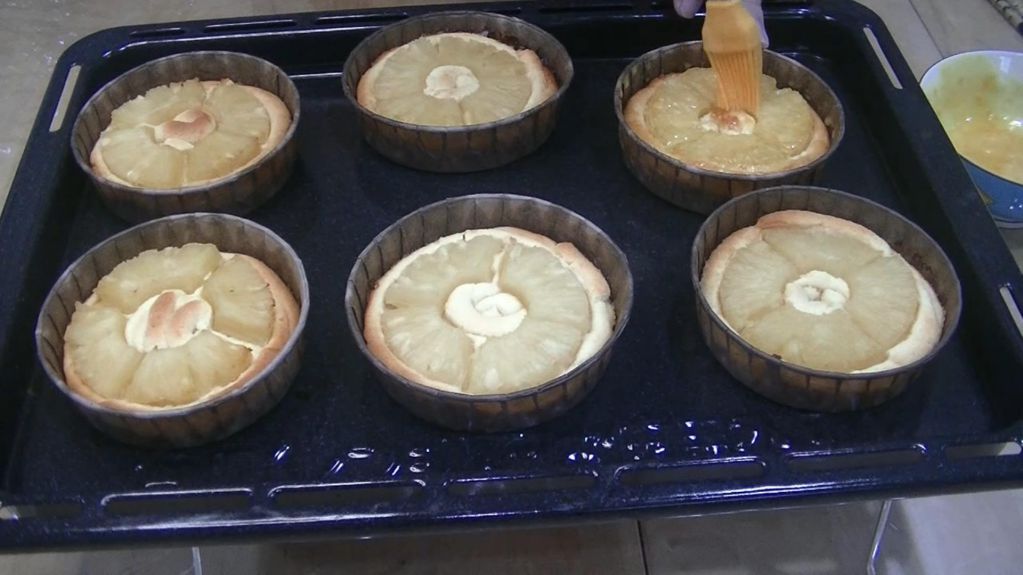
营养成分
每份参考值:157 卡路里;蛋白质 11.8g;碳水化合物 19.1g;脂肪3.3g;胆固醇 89.1mg;钠261.3mg。


发表评论 取消回复